
Audio · Sound System Installation
In-Ceiling & In-Wall Speakers
Speakers recessed flush, painted to vanish into the ceiling, and positioned for even coverage rather than one loud corner. Heard everywhere, seen nowhere — including steam-rated models for bathrooms.
The service
What we deliver
The best speaker is the one you never see. In-ceiling and in-wall drivers sit flush, get painted to match, and fill the room evenly — no shelf clutter, no cables, no black boxes staring back at you.
Position matters as much as product: we place drivers for even coverage rather than one loud corner, cut cleanly, and make good so the ceiling looks untouched apart from sounding wonderful.
What's included
- Speaker placement designed for even coverage
- Flush-fit ceiling and wall speakers
- Grilles painted to vanish into the finish
- Moisture-rated models for bathrooms
- Amplification hidden in cupboards or lofts
- Full making-good — no trace of the install
From brief to delivery
Architectural speakers need correct placement, suitable cavities and a service plan before the ceiling is closed
We coordinate speaker positions with joists, lights, sprinklers or other ceiling services, then choose coverage and back-box requirements around the room rather than placing speakers on a decorative grid.
What we resolve before work starts
A flush speaker disappears visually, but its location affects sound far more than a freestanding speaker that can be moved later. We check seating, room size and ceiling/wall construction before cutting openings.
- Listening area and even-coverage requirement
- Joist/stud positions and available cavity depth
- Coordination with lights, vents and other ceiling elements
- Speaker cable route and amplifier location
- Moisture-rated or environment-specific models where needed
What a proper handover should include
Installed speakers should sit flush, operate evenly and be clearly mapped back to the amplifier or zone controller.
- Grilles seated and aligned cleanly
- Each speaker/zone tested for correct channel and polarity
- Basic level balance checked across the room
- Cable/zone map retained for future maintenance
- Paintable grille or cleaning guidance explained where relevant
Delivery sequence
How this service moves from idea to finished work
Ceiling/wall survey
We identify structure, services and listening geometry before fixing speaker positions.
Coverage design
Speaker quantity, spacing and amplifier requirements are calculated around the room use.
First fix
Cables and any back boxes are installed before plasterboard/decoration closes the cavity where the programme allows.
Cut-in & tune
Speakers are fitted after finishes, connected and balanced for even coverage.
Why it is worth planning properly
Architectural speakers preserve usable space and visual calm
No floor footprint
Speakers disappear into ceilings or walls, useful where furniture or circulation space is limited.
More even background coverage
Multiple correctly positioned speakers can reduce the need for one loud source at the edge of the room.
Cleaner integration with renovation
Speaker positions can be coordinated with lighting and joinery during design rather than added visibly later.
Key decisions
What shapes the scope
Room function, listening level, ceiling height, cavity depth, moisture, speaker visibility, stereo versus distributed coverage and amplifier location all shape the design.
Budget & programme
What usually moves cost or timing
Speaker quantity/quality, difficult cavities, fire/acoustic construction constraints, first-fix access and amplifier channels are the main variables. Retrofitting can require making good ceilings or walls after cable routes are created.
In pictures
The work up close
 View larger photo
 View larger photo
 Close-up of a round perforated metal speaker grille against a dark background
 Macro detail of a woven speaker cone and dome tweeter inside the driver
 Flush-mounted tweeter with hexagonal mesh grille and brushed bronze trim ring
 Discreet round mesh speaker hanging flush against a plain cream interior wall
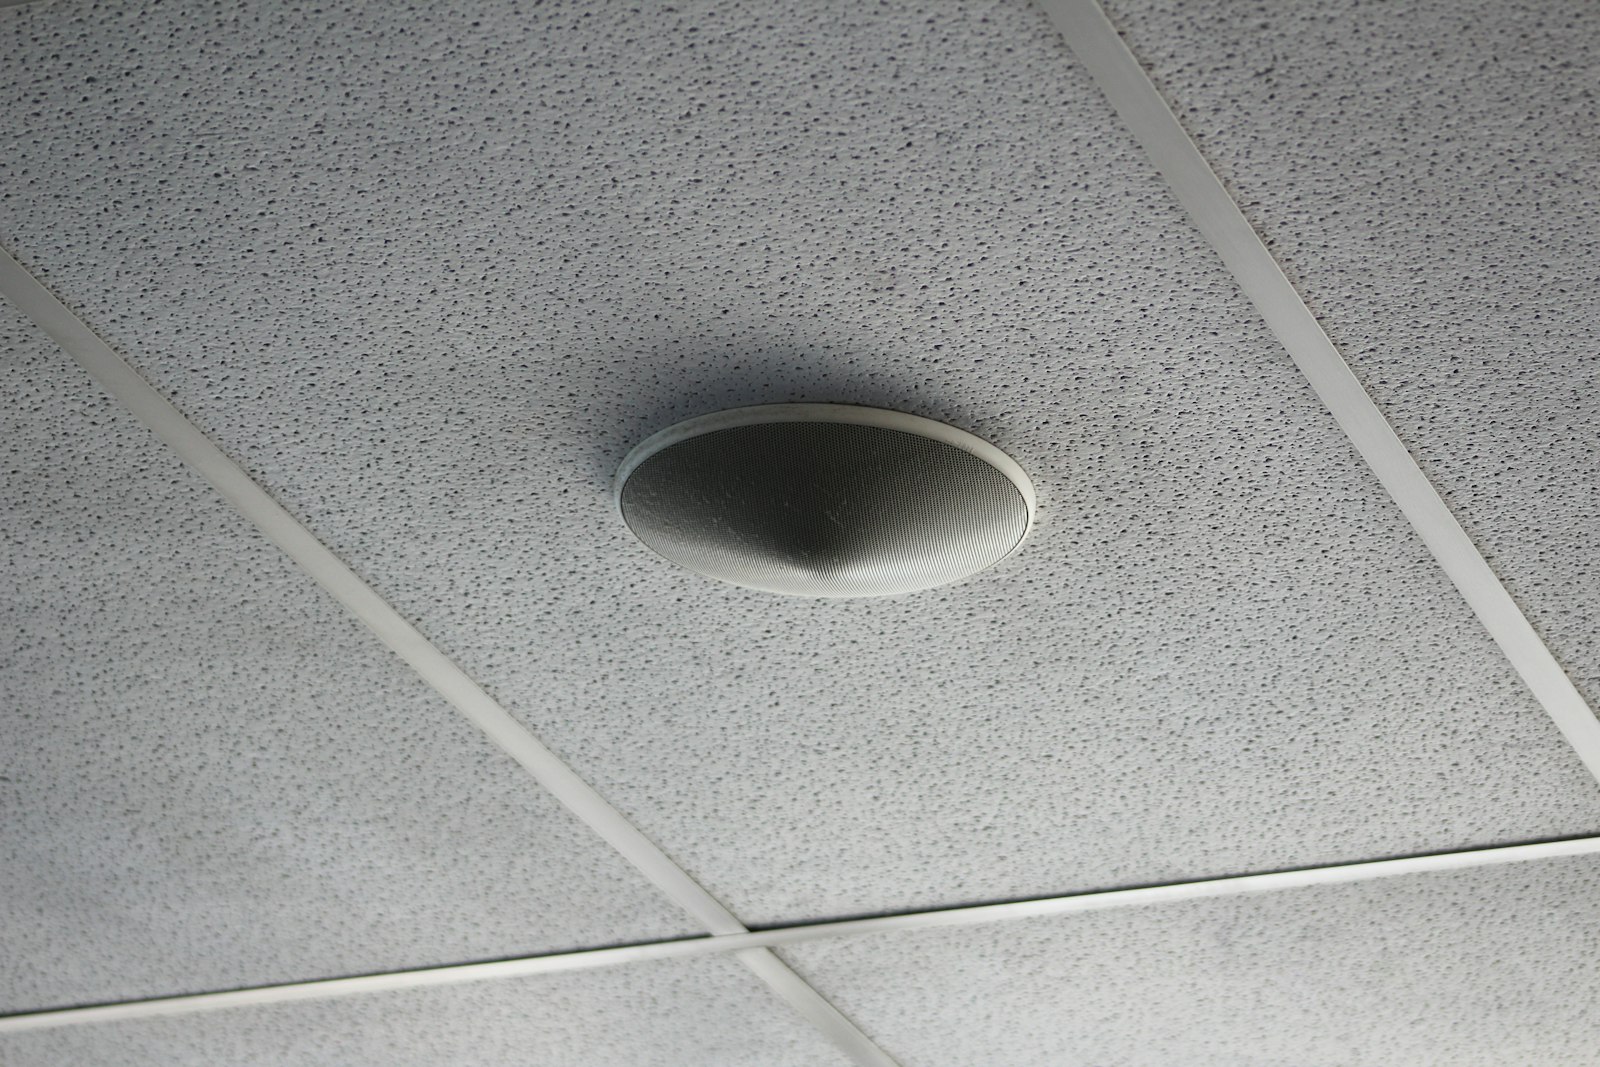 White recessed ceiling speaker installed flush within a suspended tile ceiling
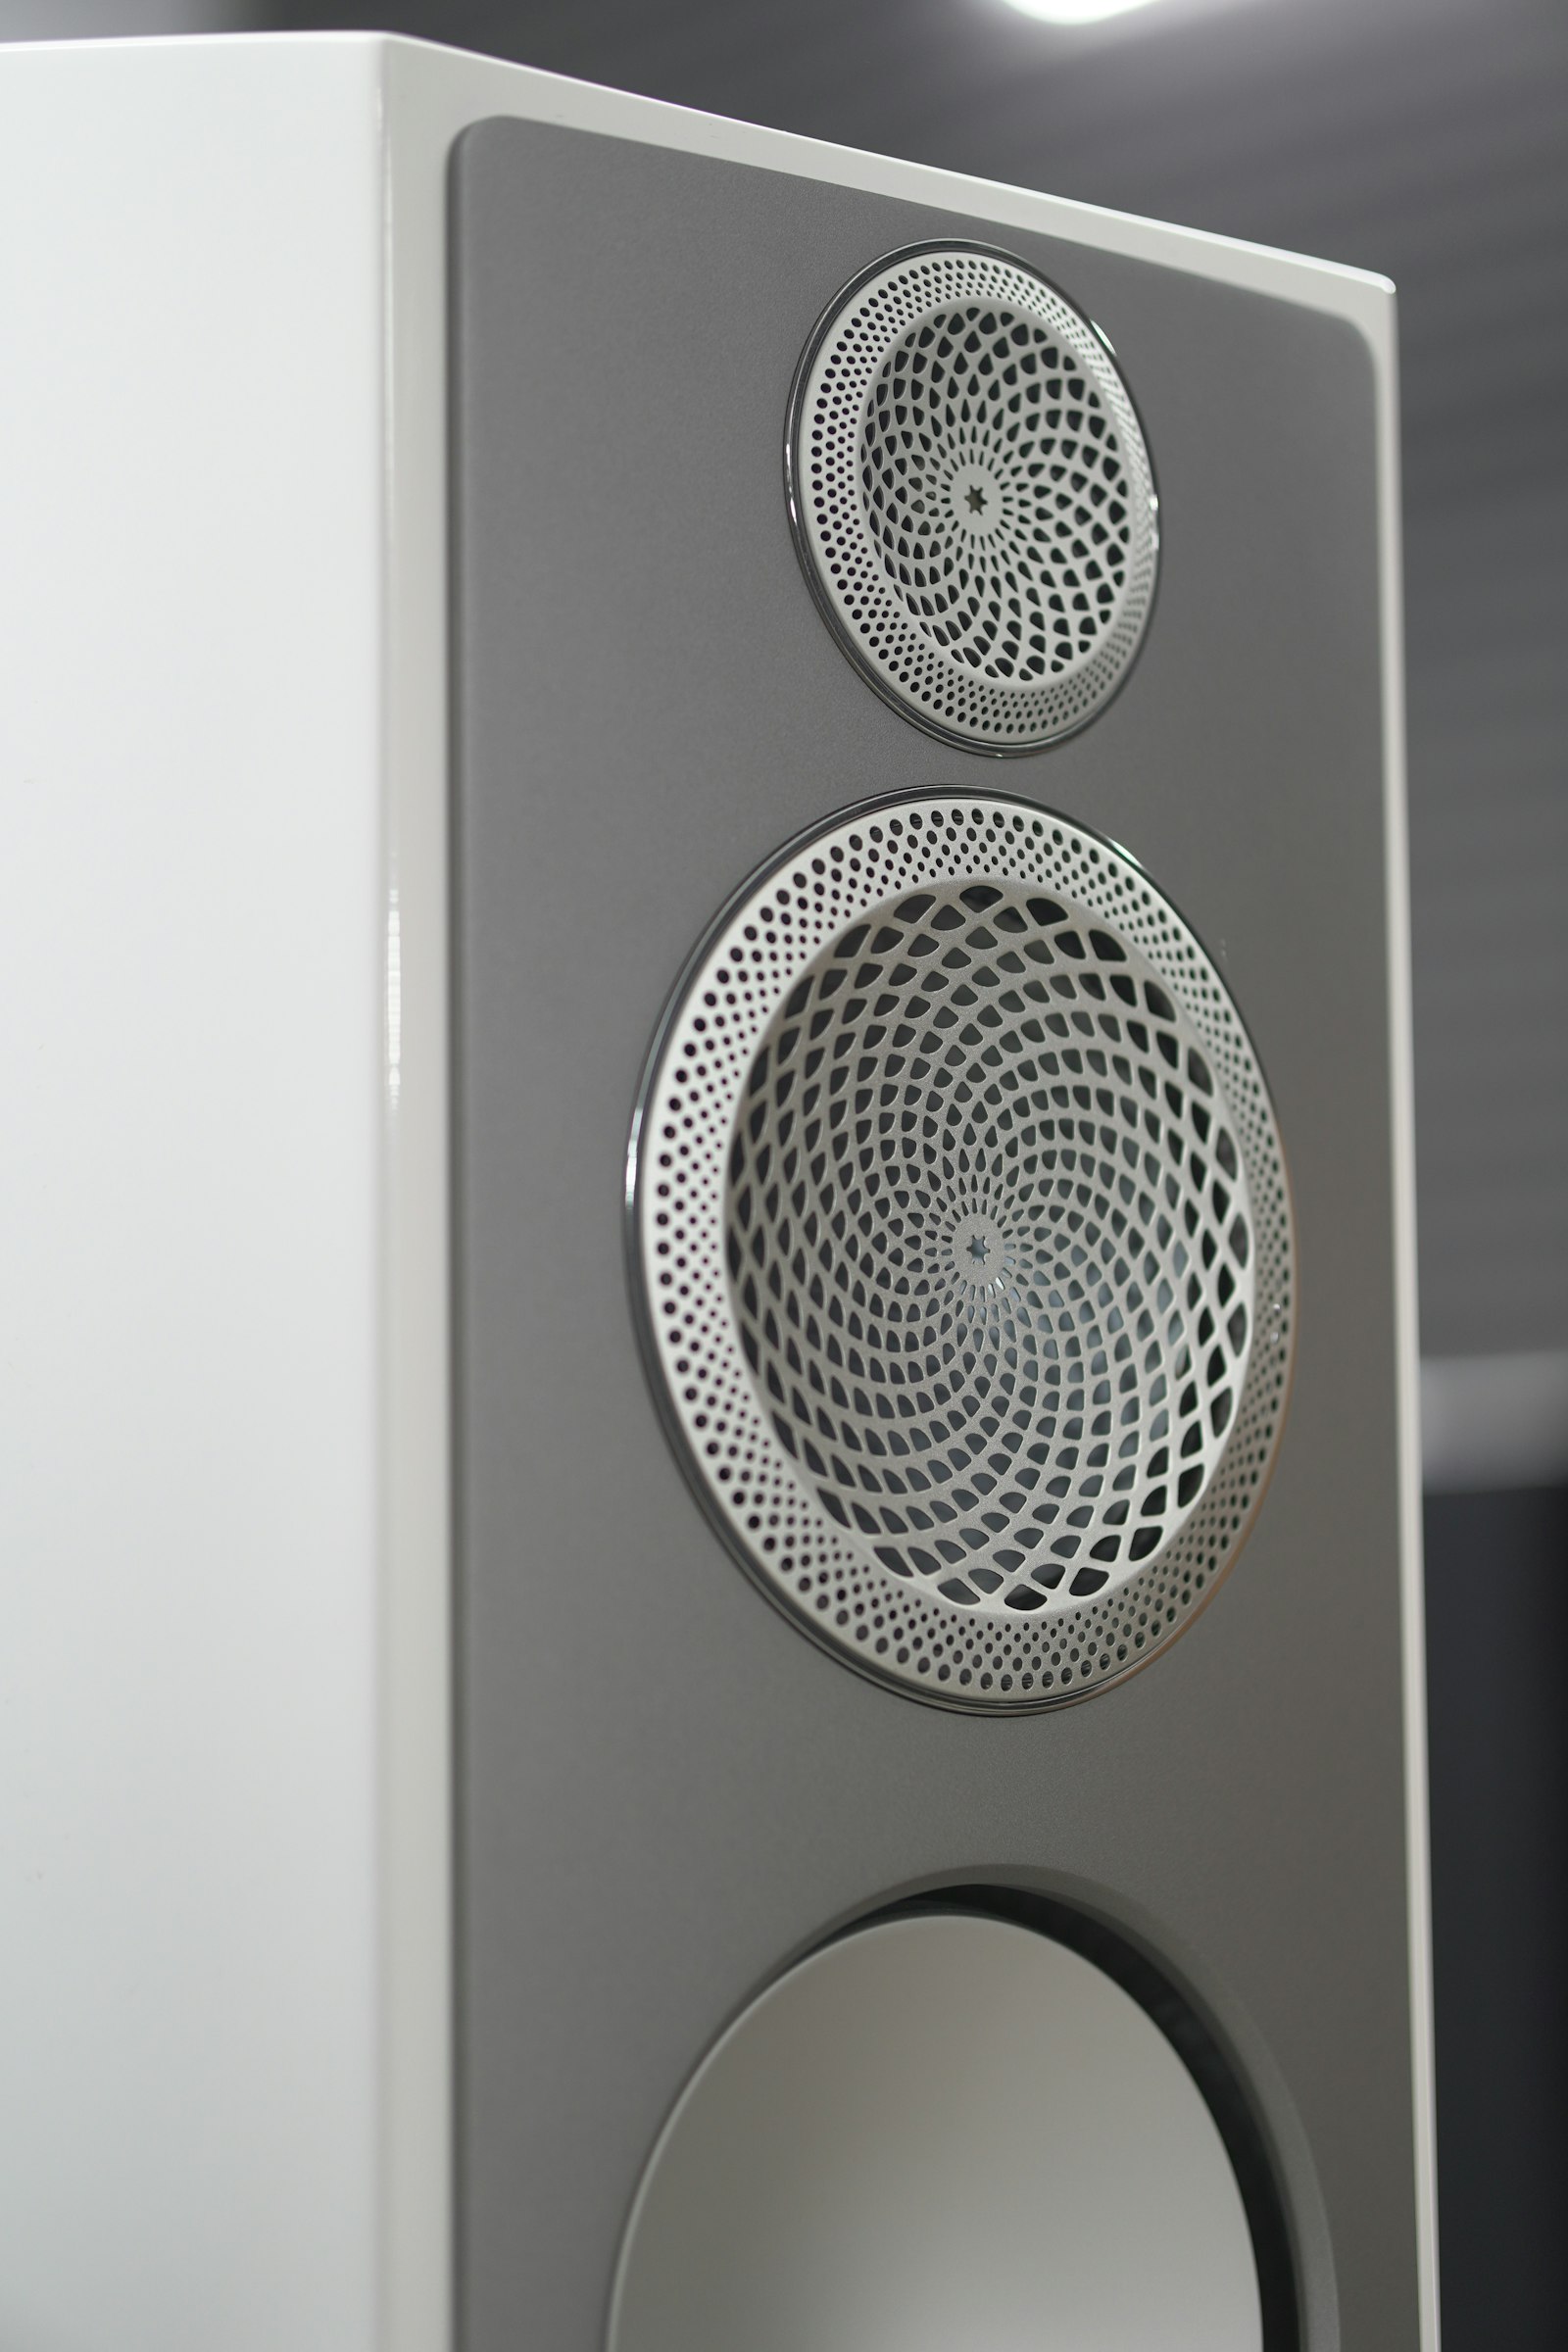 White loudspeaker cabinet with sculpted spiral metal grilles photographed up close
Why it pays off
What you gain
Sound without the boxes
Flush grilles sit almost invisibly in the ceiling and can be painted to match, so the room keeps its clean lines. Proper sound, nothing on the shelves.
Placed for the room
We position each speaker for even coverage where you actually sit, cook and bathe — not just where a cable happens to reach. No blaring hotspots, no quiet corners.
Cut in, made good
As builders first, we cut openings cleanly, fit fire hoods and acoustic back boxes where they're needed and make good the plaster to a decorator's standard.
How it works
Three steps, no surprises
Survey and position
We check joist runs, ceiling build-up and what's hiding in the voids, then agree speaker positions that balance acoustics with the look of the ceiling.
Fit with care
Openings are cut cleanly, concealed cabling is routed through ceiling and wall voids, and fire hoods or back boxes go in where regulations or acoustics call for them. Plasterwork is made good properly.
Balance and finish
We set levels and tone for each room, fit the grilles — paint-matched if you'd like them to vanish completely — and demonstrate everything working.
Sound familiar?
Asked for every week
Tell us the room size, ceiling type and whether the goal is background music, TV support or focused stereo listening. We will choose positions around the listening area rather than aesthetics alone.
- In-ceiling speakers across kitchen, snug and master en-suite
- Paintable-grille ceiling speakers fitted flush in a period sitting room
- Stereo in-wall speakers either side of a chimney-breast media wall
- Moisture-rated ceiling speakers in a bathroom and steamy en-suite
- Fire hoods and acoustic back boxes fitted above a flat's ceiling speakers
- Retrofit ceiling speakers in an Edwardian semi with minimal disruption
Good to know
Common questions
Do in-ceiling speakers sound as good as boxes?
Good architectural speakers, properly placed and amplified, sound outstanding for everyday listening and background music. For a critical stereo listening corner we may still recommend one visible pair — and hide everything else.
Is the ceiling mess significant?
A clean cut per speaker and cable runs through voids where possible. Where we do open anything up, we patch, skim and paint — making good is part of the job, not an extra.
Sound System Installation
More in this service
Start the conversation
Ready to start your project?
Send room dimensions and ceiling photos or drawings. A site check can confirm cavity depth and service clashes before any openings are cut.